This is a project that I've been wanting to experiment with for awhile...I've heard that you can heat emboss on tiles and on glass before, but to mixed reviews. I didn't really have any spare tile laying around, but when I was at the Asylum (Texas Art that is) this morning, I came across a variety of them, so I grabbed a black one. I regret not getting a lot more because there are many other things that I plan on doing with this newly found technique of mine.
As usual, the easiest way to do this is a...
PICTORIAL TUTORIAL
but first...
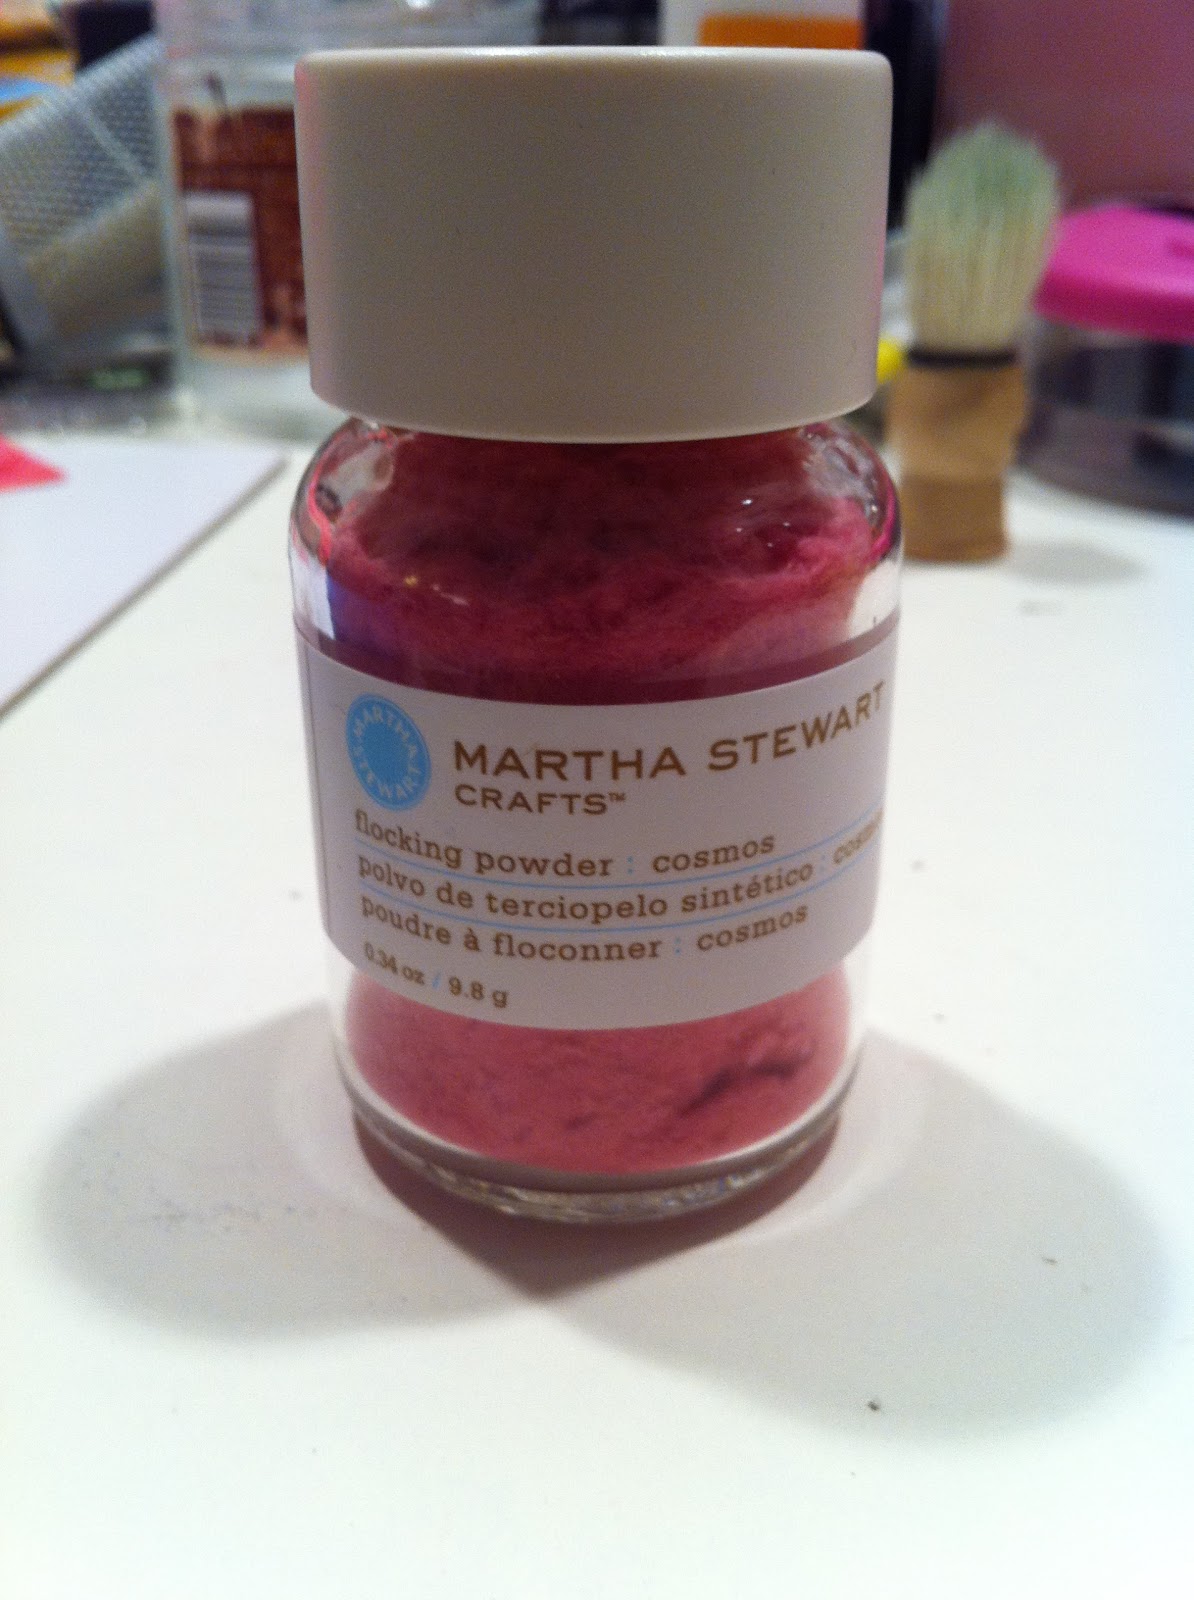
SUPPLIES...
 |
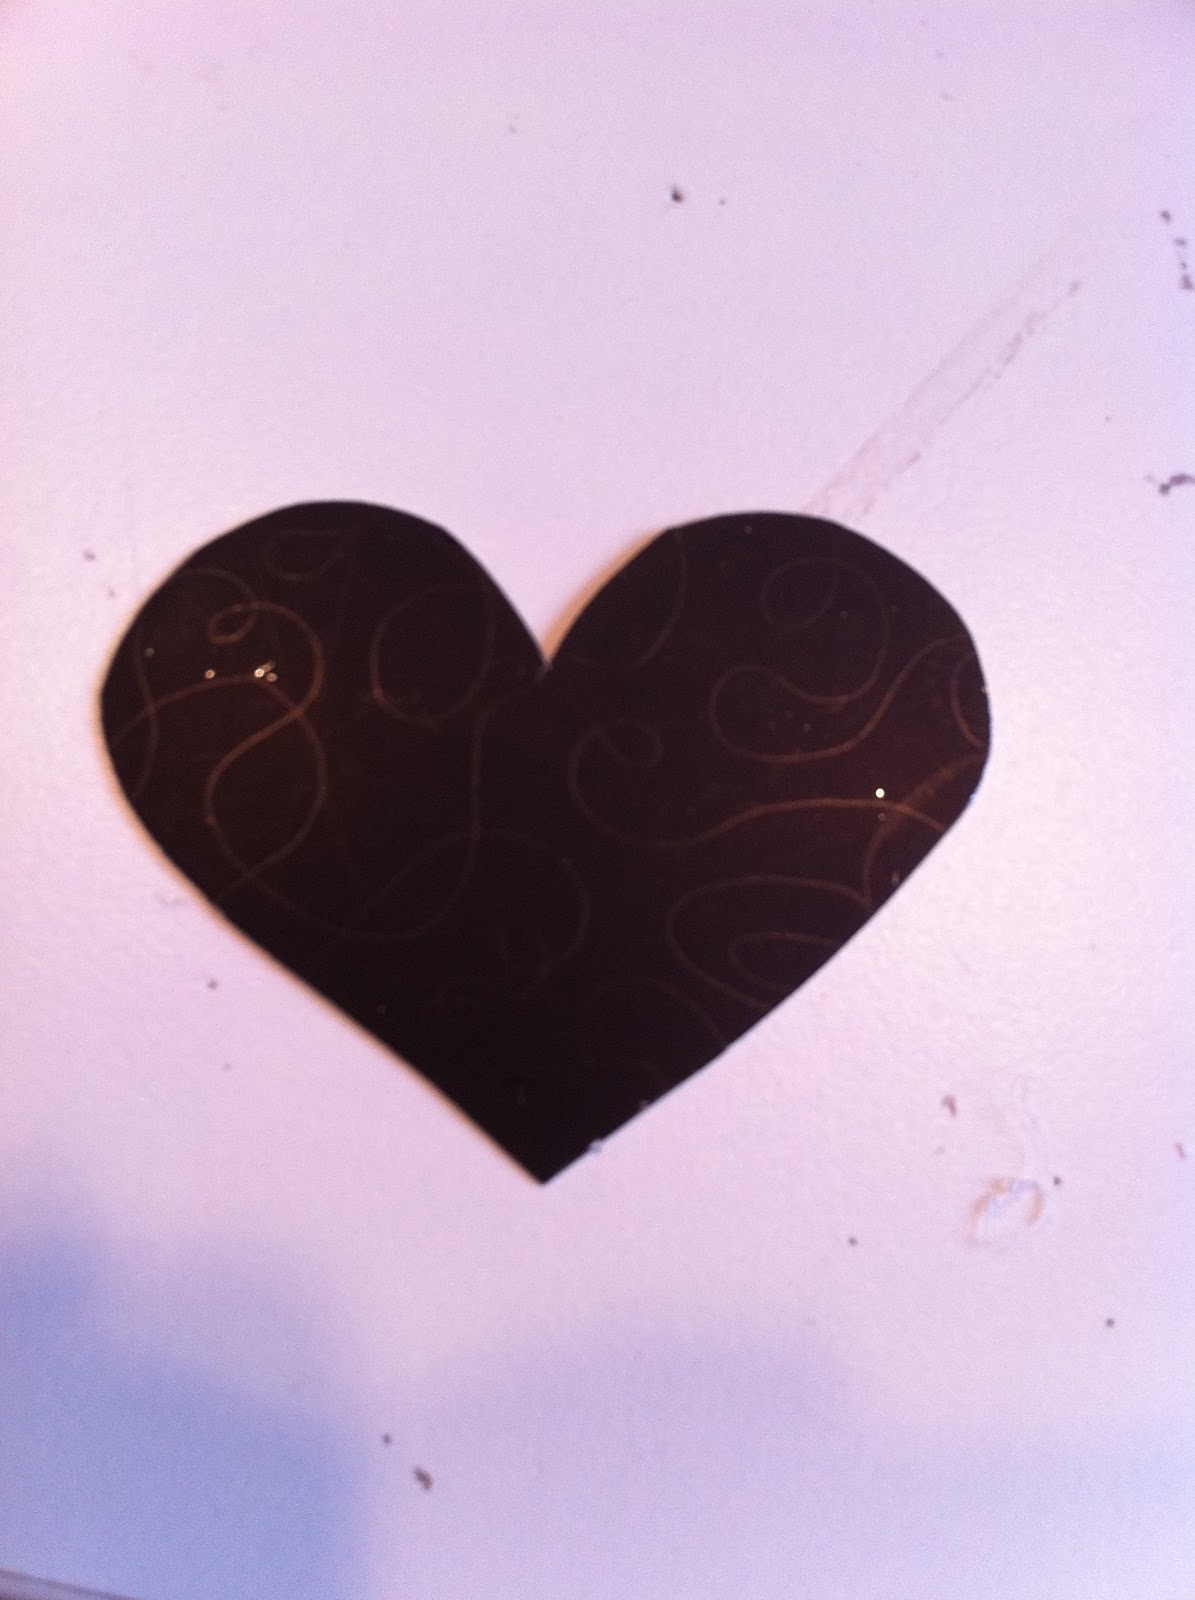
| My Tile |
 |
I'll explain all this stuff over
<<<there... |
To start, I stamped my roses with the Ruby red ink onto the tile...
Then I put my powder onto the stamps and...
I smushed the rest of the powder into my blue tray. The blue tray is AMAZING. Until the blue tray, there was a strict "no glitter!" rule in my house instituted by my husband. Now that I have the tray, I can have my glitter...
This is where it got kind of sketchy...I heat embossed it. It took a long time (but it worked-SCORE!) and it was HOT. Like, even five minutes after I'd finished, it was too hot to touch...
When that was done, I took a wash cloth and held it down (so as not to burn my fingers) and I wrote on the tile with my VersaMarker. Then I used my white embossing powder to cover it. Since the tile was so hot, the powder was sticking to funny places. I guess I could have been patient and waited for it to cool, but I wasn't, so I just took a pencil eraser and "erased" what I didn't want to be there...
I didn't get all of the white off of where it was supposed to be, but it's fine. It was an experiment and I like it very much. One thing about this that's good and bad is that you can scrape off the embossing. Since my handwriting is atrocious, I shall be scraping off the "365" and replacing it with actual 365 rubber stamps...once I get them...


